RoboCop
Nothing beats the original. This is my childhood. A man transformed and trapped inside a machine. His soul still intact.
In mid-2024, I began modelling the character, relying extensively on movie stills as reference material. The process took about four to five months, with frequent back-and-forth between Maya and Blender to complete the intricate modelling. The face was sculpted in ZBrush, using whatever reference I could find to capture Peter Weller’s distinctive features beneath the visor. It was also rigged by Stefan de Kock with the hip holster setup and animation being particularly satisfying to play with.
I could, and probably will, still add more poses and renders. But for now, I feel it's time to move on. I wanted to animate the character, but I also feel quite satisfied with where it is and happy to leave it at that. This was a blast, but man, was this also exhausting. To all the fans of RoboCop, I certainly hope I did it justice.
To those who have yet to see the movie: you officially have homework.
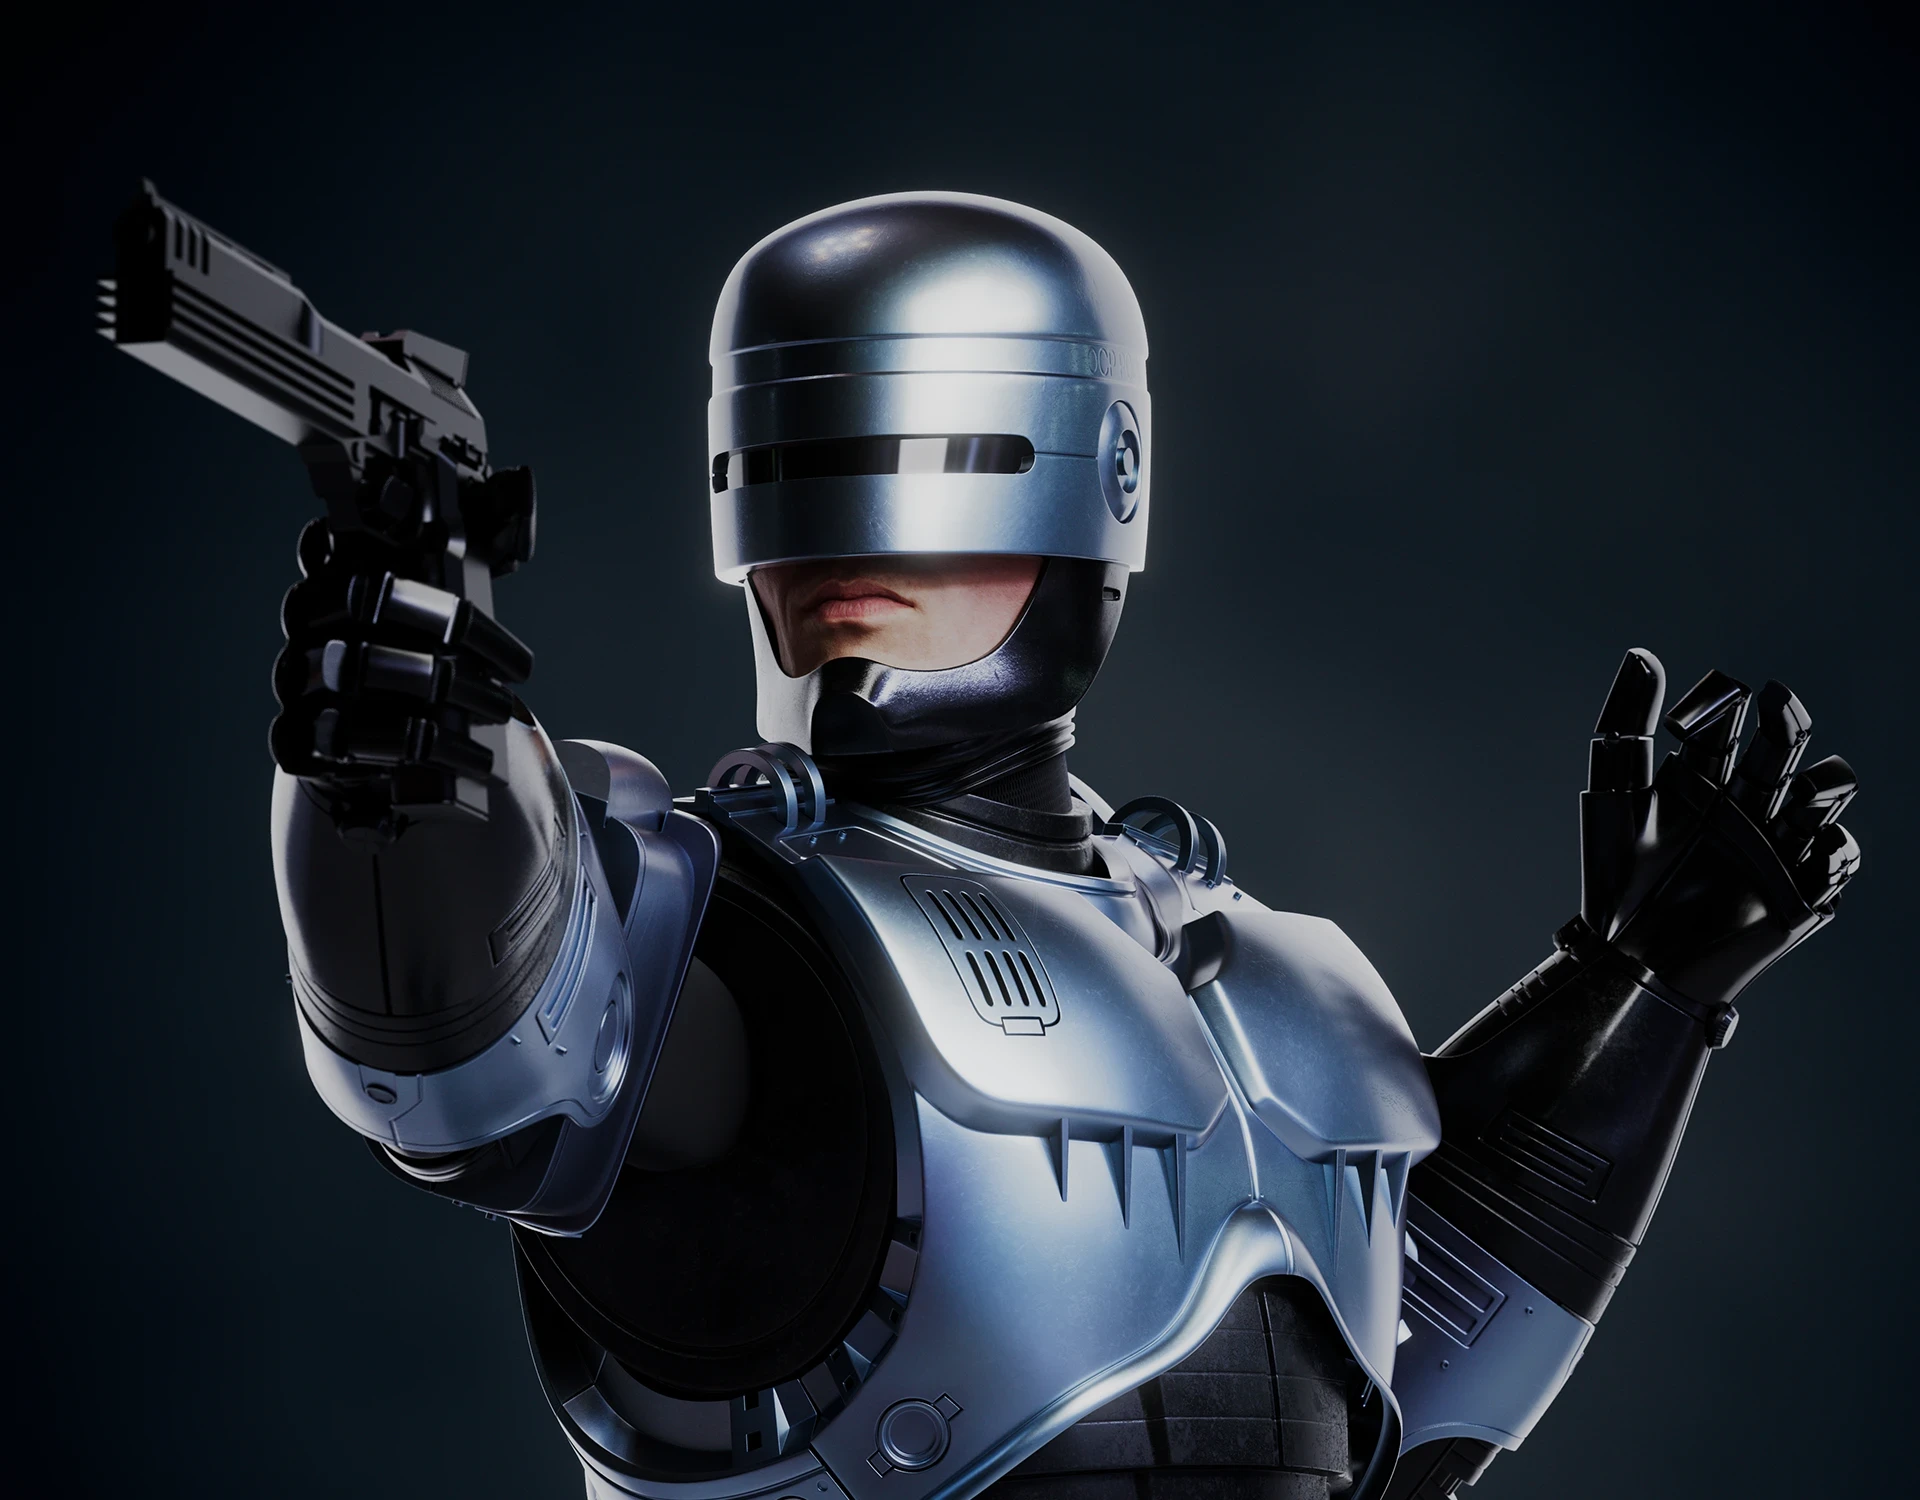
All renders were done as portraits at very high resolution, hence the number of images and slightly inconsistent cropping.
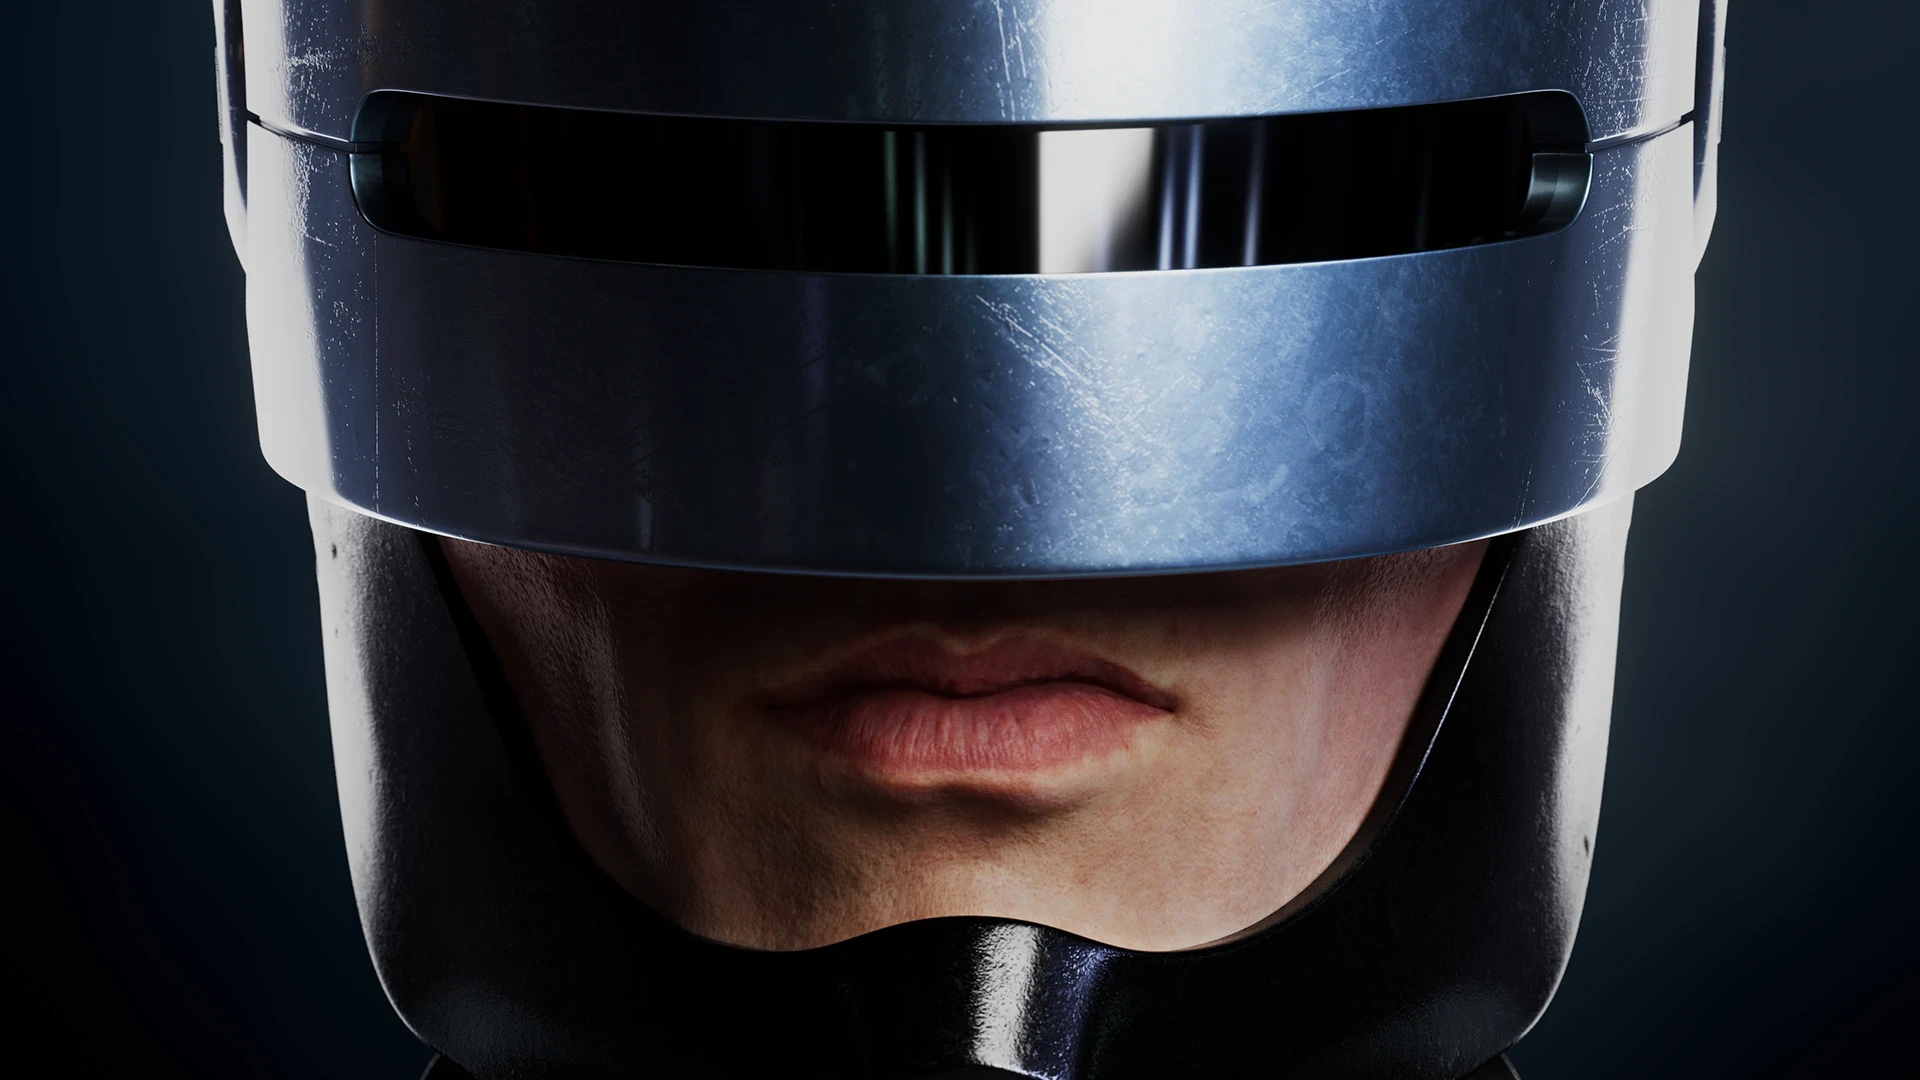
I spent a lot of time considering the metal and how the suit was practically made. While I wanted to replicate the nature of the original practical suit, I decided to go with my perception of it – actual metal, even if it meant being inaccurate.

While the front of the helmet was easier to do, the rear posed some problems in that clear reference was much harder to find than I originally thought.

It took many rewatches of the film and plenty of screenshots to get a sense of what the helmet actually looked like from various angles. Integrating the helmet in a way that also fitted the actors face was quite challenging.
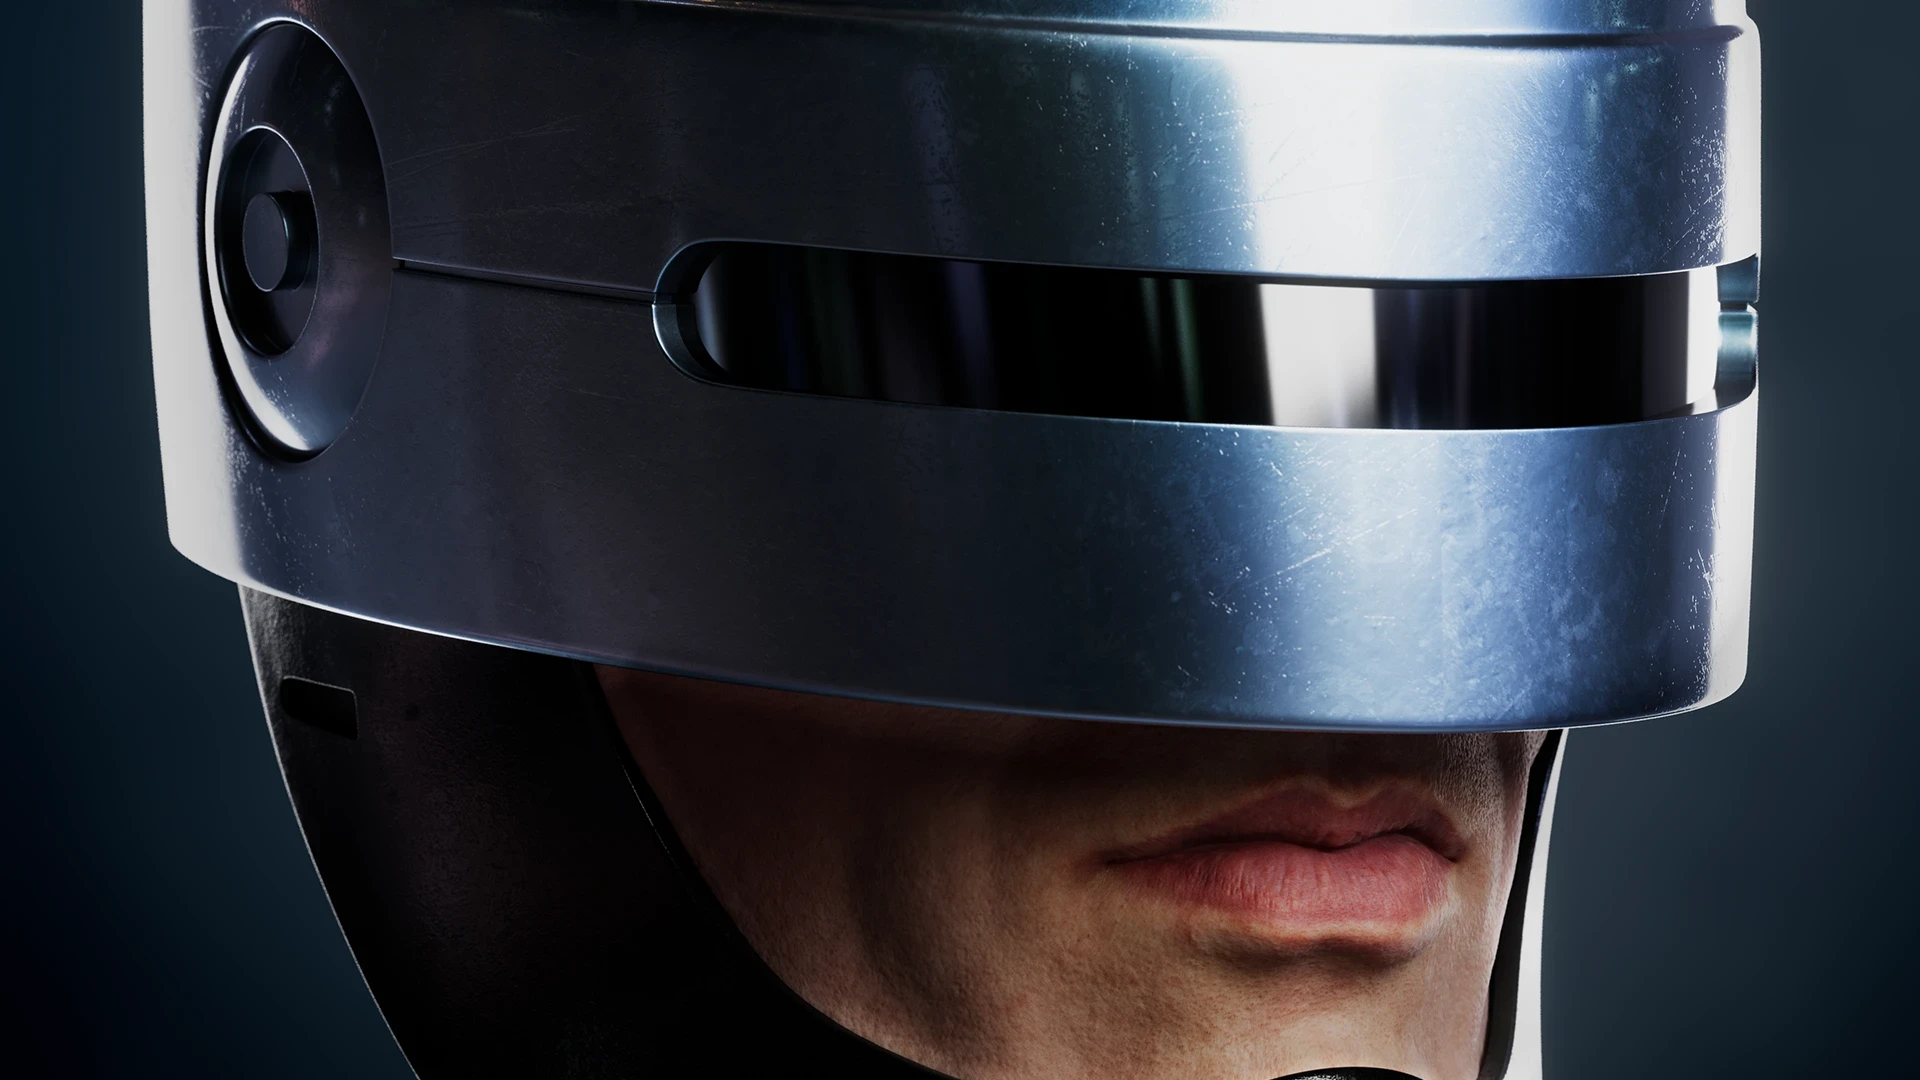
The blue tint of the metal was a key aspect for me. It echoed the feeling of law enforcement while also adding a feeling of presence and mystery that a greyer tint just didn't carry.

While I have taken some creative liberties when imaging the close-up surface treatment, I was always trying to strike a balance between what it actually was versus what it was trying to imitate.

The amount of detail on curved surfaces really tested my hard surface skills, and combined with the reflective metal, it meant that I couldn't afford to have any shading issues.

Needless to say, the face sculpt was a challenge, and the inner 'helmet' was very tough to get right. The 1987 movie doesn't have the sharpest of resolutions, and I don't get to see all the angles I would prefer for an accurate recreation.

I had to use various old pictures of Peter Weller from various sources to get a sense of his facial structure, which has its own unique qualities to it.

Figuring out where the face ended and the prosthetic took over, added another layer of complexity to this. While a normal face is already tricky, figuring out an 'enhanced' face in this case was even more so.

While admittedly not perfect, I'm satisfied with the end result as being 'close enough' and 'good enough' by my own standards.

The model was also rigged by a fellow artist, Stefan de Kock, as the original intention was to animate it. While that remains a lovely idea, I simply ran out of time to take it that much further.

I used Rombo Tools for the first time on this project, and it really helped to push the look of the metal in interesting ways that the standard Arnold shader couldn't quite achieve.

Although I am admittedly biased, I do think this is one of the most strikingly designed mechanical suits. While it may appear 'simple' compared to some of the more chaotic mech designs of late, it is surprisingly detailed.

I used MeshMachine a fair amount to help with the creation of the various plug details, particularly around the legs and hips. This not only speeds the detailing process up, but keeps it more consistent.

The majority of the external suit and upper body was modelled in Maya, then exported to Blender to finalise the model. Instead of trying to pick one over the other, I embrace both tools and try to play to their strengths.

It is no exaggeration when I say that I redid almost every piece of the suit at least once. I was rarely ever happy with my first take, and knowing I would probably never create this character again, I wanted it to be as accurate as I could make it.

The modelling process in both Maya and Blender was tricky in that there was so much surface curvature on the character, accompanied by smallish details. I knew there could be no shading issues, so planning the topology was quite intensive.

Lighting the character was also unexpectedly challenging. The predominantly metal suit meant that I had to think a lot about where light was reflecting to keep interest and appeal without flattening out the character.

I appreciated how asymmetrical the design of the suit was, especially in its detailing. This made the modelling process take so much longer but adds so much interesting appeal.

In Maya, a key addon that I used was Zen tools, which is a nifty free addon that provides very useful control over curvature and eveness of the mesh. Highly recommended!
The final model has just over 923K polygons and around 100 UDIM tiles.

The modelling workload was shared between Maya and Blender, with ZBrush used for the facial sculpting.

The reason I use both Maya and Blender for modelling is simply because I feel they each excel in their own way. There are certain things that Maya does extremely well, while there are others where Blender is superior.
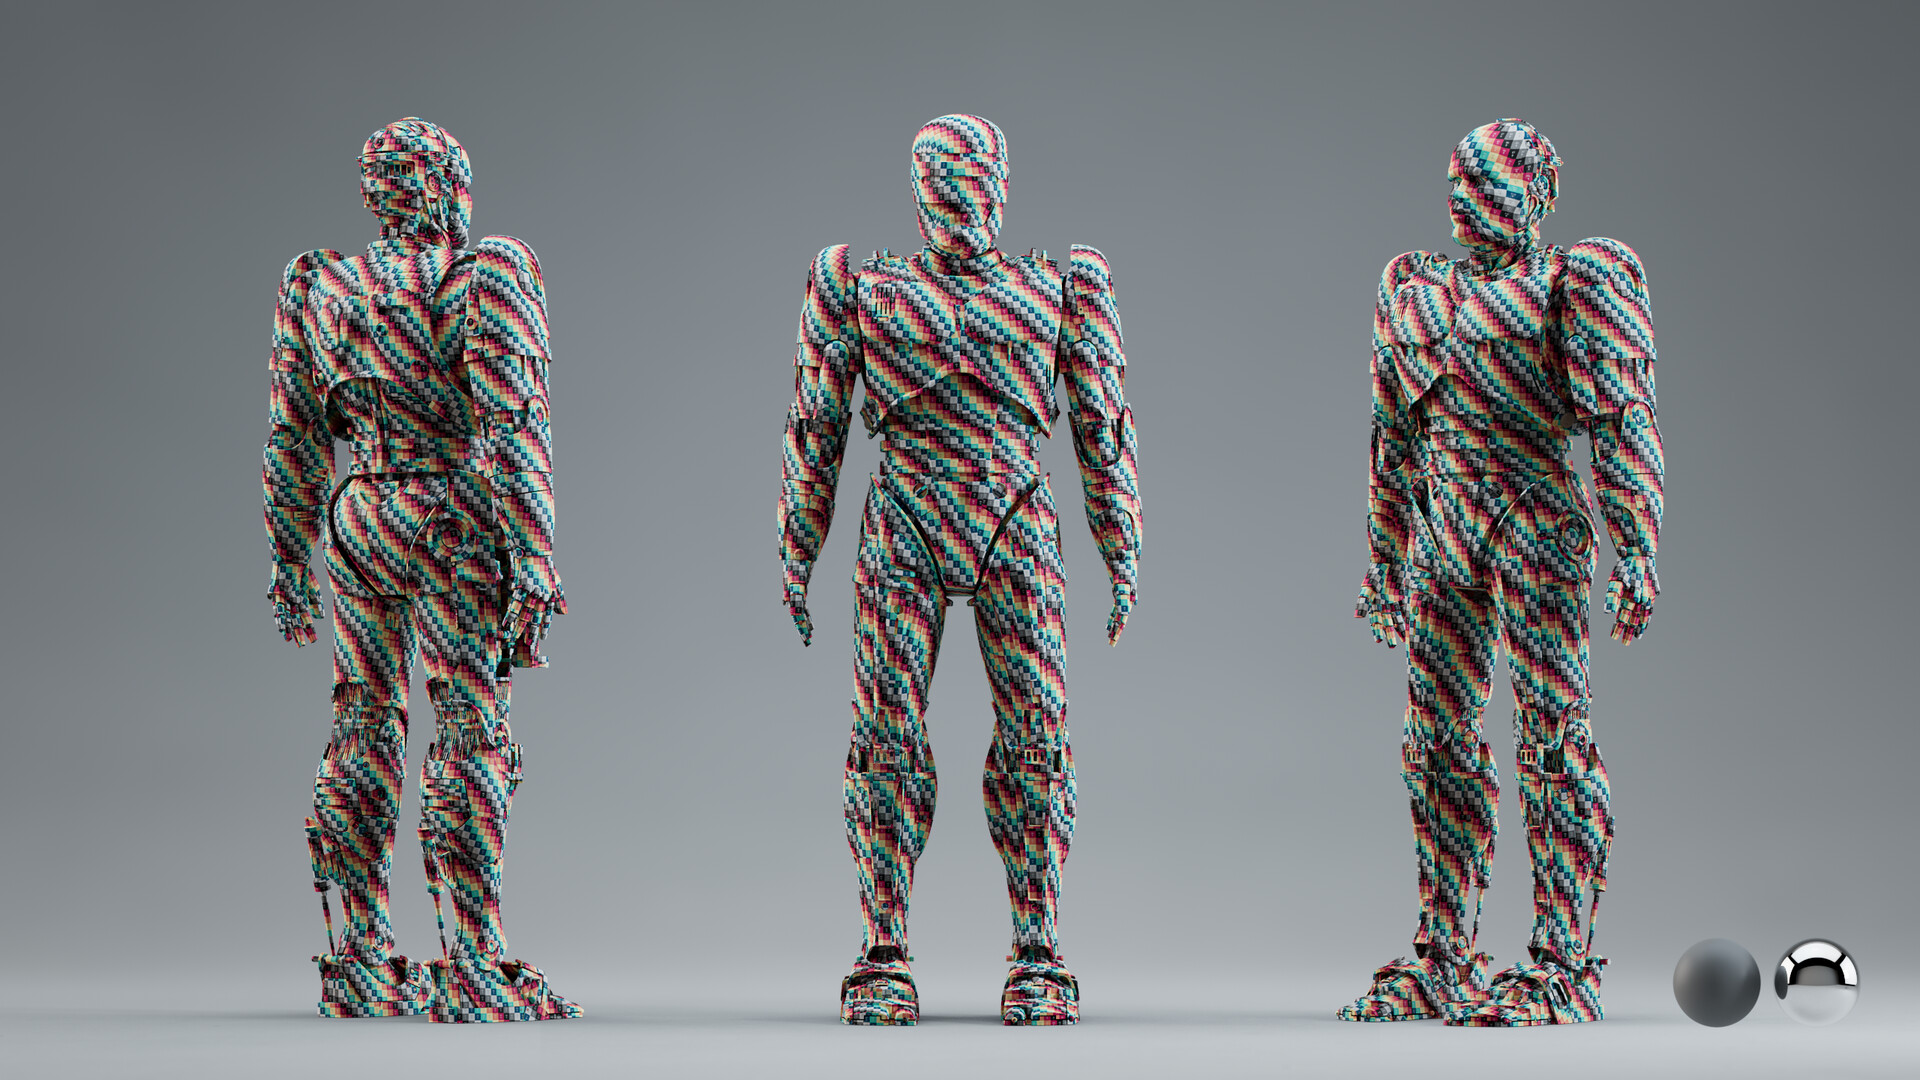
All of the unwrapping was done in RizomUV, which made a big difference to the process, allowing for much easier management over the entire unwrapping process.